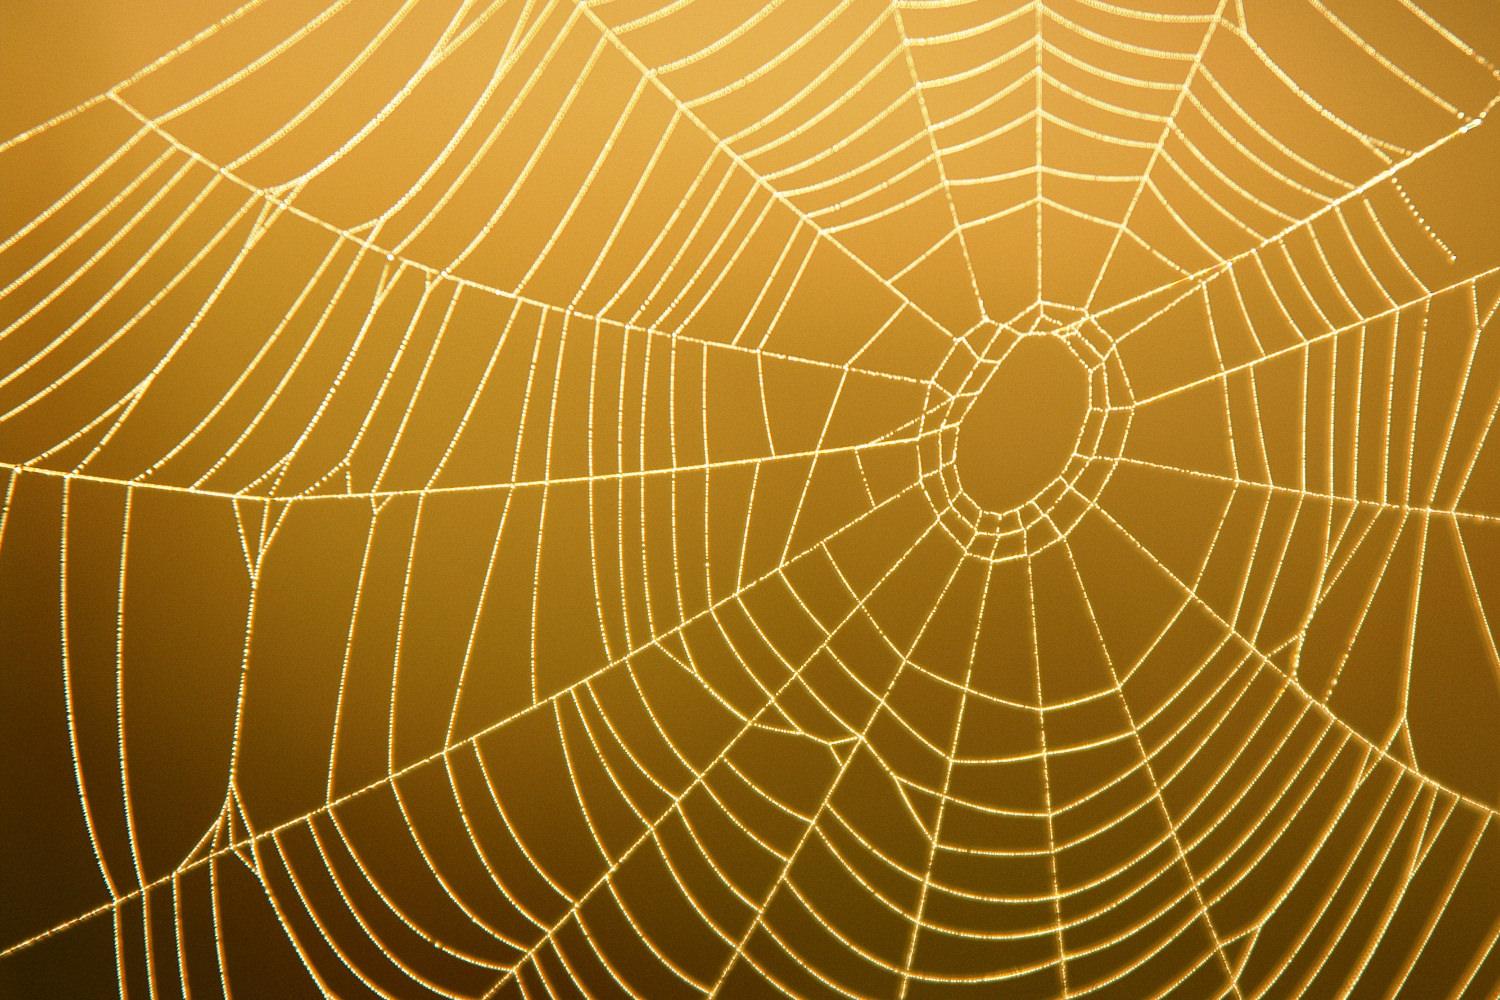
Spider webs are a great natural photography subject. Their delicate structure and fascinating shapes are highly engaging to look at, and they are covered in interesting details which make great close up studies.
It's amazing just how different each spider web can be when you look at it closely. Combine this with varying surroundings, lighting, and weather conditions and you'll soon discover that spider web photography offers a huge range of possibilities.
Photographing spider webs isn't always easy - focusing in particular can be difficult, and it can take a bit of searching to find one with enough strands to make a good shot. You might also have to sit patiently for several minutes waiting for the wind to die down. However, the results can be stunning, making them well worth the effort.
When to Shoot
The best time to photograph spider webs is on a still day. Due to their lightness, spider webs can easily get blown around in the wind, leading to problems with focusing and blurry photos.
Early morning tends to be the best time of day to shoot because there generally isn't much wind. You also get the added bonus of morning dew adorning your spider web.
Shoot early in the morning to capture dew and avoid the wind. Image by Lida Rose.
If you can't shoot on a still day, try to find a spider web in a sheltered spot where it won't feel too much wind, and shoot in between gusts. An umbrella is also a great way to shield the web from the elements.
Choose Your Viewpoint
Look at the spider web from both sides to see if the light catches one side better than the other. Often the web can look entirely different on each side, so be sure to choose the best one!
Close one eye and move your head about to find a plain background behind your spider web. This helps the web to stand out. Also make sure there are no distracting elements in the background which might draw attention away from the web.
Find an angle that provides a plain background, so as not to lose the delicate details of the web itself. Image by Julie Falk.
Spider webs are a part of nature, so try to avoid including un-natural, man-made objects in the background, such as cars and buildings. Of course if your aim is to photograph a spider web in an urban environment, make sure you do include these elements.
Set Up Your Equipment
Use a wide aperture to blur the background of your photo and focus the viewer's attention on the spider web. Be aware that using a wide aperture will give you a narrow depth of field, so you need to be extra careful when focusing.
Use manual focus - auto focus will have a hard time focusing on the fine threads of your web, and will most likely end up focusing right through it to the background. Because of the wide aperture, it's essential that your focusing is spot on, so take your time.
Give yourself the best chance of a sharp photo by taking the time to set your camera up properly. Image by amateur_photo_bore.
Use a tripod if at all possible. With such a narrow depth of field you want to minimise camera movement as much as possible, and a tripod is the best way to do that.
Flash can sometimes enhance the spider web, bringing out details and making it stand out more from the background. Other times, natural light works best, so experiment with both.
Composition
Zoom in - the most interesting part of a spider web is the centre, so get in close. Don't try to photograph the entire web because the threads will be too thin to see clearly.
Place the middle of the web off-centre. This usually creates a more interesting and balanced composition. Sometimes the symmetry of placing the web in the centre of your frame can work well too.
Include the spider as a focal point. Image by Frederic Poirot.
Include the spider or a trapped insect to add a focal point to the scene and add additional interest.
Dew-covered spider webs look great and are also easier to photograph - the water droplets thicken the web so that it shows up better, and they also weigh the web down so that it sways less in the wind. Early morning is the best time for this, before the sun has had time to evaporate the night's condensation.
